3D cakes, tips and useful little things
Various little additions that I learned on newer cakes, not to write a few recipes in particular, here it is all in one place

Preparation steps
- Choice of biscuits and cream For cakes that are good for 3D, it depends on the shape. If something is simple, such as pots, stones, dolls, etc., you can make cream cakes, but it is important to cover the mold with something that can be covered with fondant, such as a mixture of biscuits and butter as a base for cheesecake. This also works for ordinary cakes you want to coat, not just 3D. Recipe here, including links to painting per cake. For cakes of a more complex 3D shape, such as an excavator, the biscuit and cream need to be firm and firm. I usually use for biscuit or mud cake, or pound cake, or carrot cake. Chocolate ganache cream is a good option (white with orange flavor for carrot cake, chocolate for other options) or chestnut butter cream. How to ensure that the cake does not move on the base If the base is a wooden board, then simply nail the dowel that will hold it. This is the best method for large and / or heavy cakes. If it’s a smaller or lighter cake, apply melted chocolate to the base and then place the cake on top of it and place in the fridge to set. 3D Cake Design There is a mold for simpler options. In some other more complex forms you have two methods. One is to fold the cake and then cut out the shape when the cake has set and then coat it again with cream and let that layer set before you coat it with fondant. Another option is to cut out parts of the cake, such as the shape of an excavator from a three-crust profile, and then stack them on top of each other, turn upright, coat with cream and then just slightly fix the shape as needed. Gluing small parts Again two options, royal icing and melted chocolate, melted chocolate is a quick option. For smaller portions, only egg whites can be used. 3D cake dressing Again, there are various approaches, you should try and find what suits you. For cakes with sharper edges, a good approach is to coat the sides and top, be finely sharp edges if a craft knife is used and stick with egg white or water. The edges can be further camouflaged with a little diluted royal icing (painted as needed to match the color of the fondant) applied with a brush.
Serving
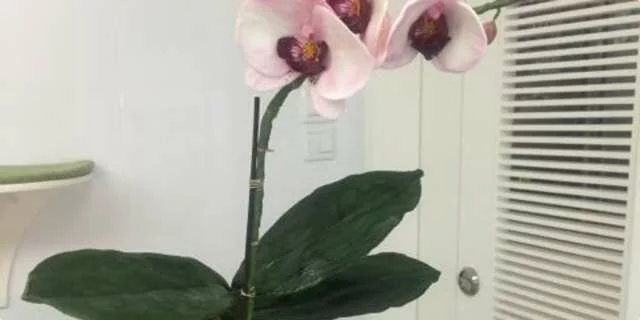
Instructions for orchids are here. There is a Pdf file with drawings of excavator parts on Yeners Way, but it is paid. You can make your own, the essentials are that the width of the scoop matches the width of the excavator.
