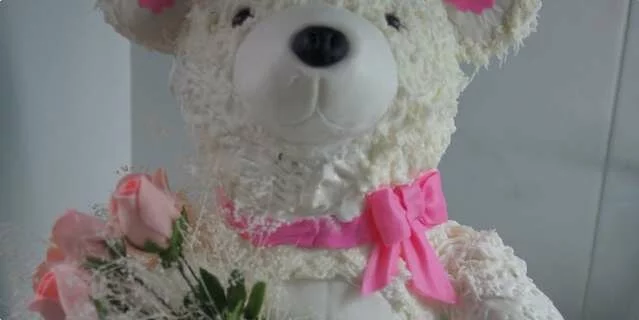
3D cake
Instructions for 3D cakes.

Preparation steps
- When making 3D cakes, the important things are that the bottom biscuit is firm, that the cream is stable and that there is a good construction inside (cake dowels). You have two ways to shape the cake - to bake a round or square crust, layer it, leave it to set and then carve out the desired shape. I don't like carving, so I prefer to do variant 2, which is to bake the crusts in molds closest to the shape I want to achieve, and finish the rest of the shaping with chestnut butter cream, to which I eventually add ground almonds to make it firmer. For a bear, for example, one round crust and one crust baked in a body bell mold, a ball mold for the head, a smaller hemispherical mold for the muzzle (which is attached to the head with toothpicks) go for the body, while the marzipan hands and feet are made of ball mixture. of chestnuts. Fill the parts and coat the butter with cream and arrange for everything to set well, preferably overnight. Then comes the dressing and decorating. I like to coat 3D cakes first with marzipan and then with fondant, they are tidier and easier to smooth. First comes the body you are dressing, then the legs, then the arms (using dowels or butt sticks to attach them to the body), then thread 1-3 dowels (depending on the material and thickness) through the middle of everything and put the head on. For smoothing 3D shapes, you can only use your hand if you do not have a suitable tool, but first lubricate your hands with vegetable oil. For bear fur, use royal icing and a grass attachment. Finally add the bruise and the previously prepared bouquet of gummy roses. 3D cakes of a different shape are made in a similar way. Minor details (bear ears, beak, glasses and legs for the Pororo cake) are made earlier to dry well before being mounted on the cake.


